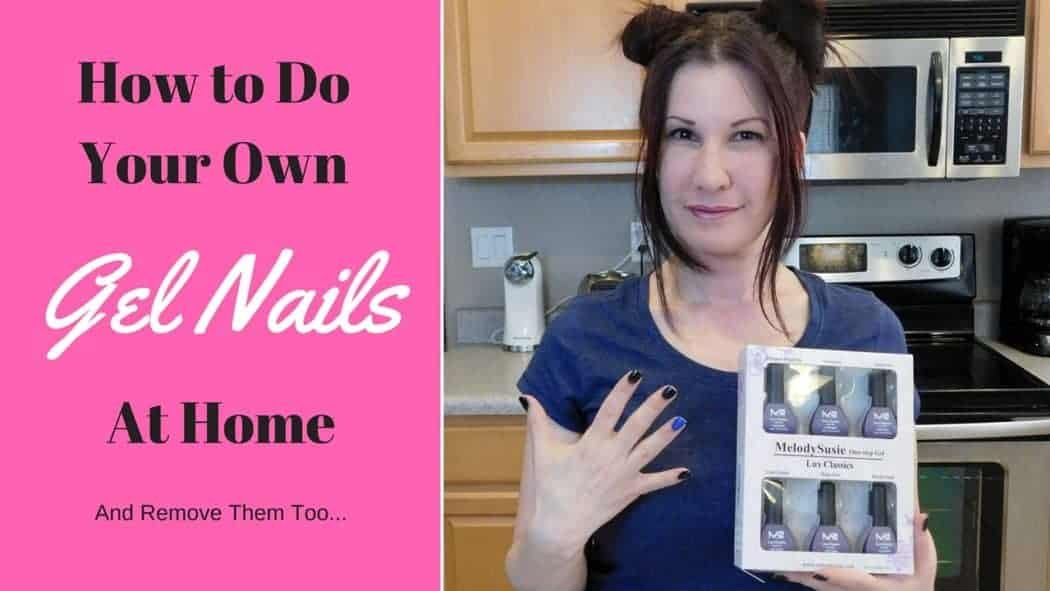
How to Do Gel Nails At Home
I’m cheap. And busy. This means I can’t afford to waste time or money at a salon to get my nails done. If you love the look of gel polishes but don’t want to spend $25 or more every 2 weeks to keep them up, never fear. With the new products on the market, you can do your own gel nails at home! I will share with you how to do gel nails at home and also how to remove them.
I love experimenting with different nail polishes and while I’m not a professional, I am loving the new gel nail polishes that have been on the market lately. They just look so much shinier than traditional nail polish and last longer too.
But one of my beefs about nail polish is that it seems to take forever to dry. Even after hours have gone by, I always end up smudging a few of my nails.
So when a company by the name of Melody Susie contacted me to try out a few of their nail products, I thought this would be a great opportunity to learn how to do my own gel nails at home.
To do your own gel nails, you will need to shell out a little money up front to get the products you need. We’re talking maybe $60-$100 depending on the products you want.
But when you compare it to the cost of going to a salon every few weeks, they will literally pay for themselves in about 3-4 uses!

What is So Great About Gel Nails Anyway?
Gel nails are fabulous for many reasons:
- They don’t chip for up to 2-3 weeks.
- They protect your natural nails allowing them to grow with less breakage.
- They are so much shiner than regular nail polish.
- They dry super fast after curing.
- Gel nail polish is now available everywhere!
What You’ll Need to Do Your Own Gel Nails at Home
- Gel nail polish
- UV nail drying lamp
- Rubbing alcohol
How to Do Your Own Gel Nails
I have created a little 2 part video to show you how I do my gel nails at home. I explain how to paint your nails, and also how to remove them.
These instructions are for using a one-step nail gel, so a base and a top coat are not necessary. But if you don’t want to watch the video, keep reading for a step by step guide.
Step 1: Preparing Your Nails
- Trim and shape your nails to the desired length.
- Use a nail buffer to smooth out any ridges and get them ready for polishing. I really like this nail buffing block by Trim. It has instructions on 4 sides so you never have to guess which side does what.
- Before applying your gel nail polish, wash your hands and then wipe your nails down with some rubbing alcohol. This will ensure that any oils are removed and the polish will adhere better to your natural nails.
Step 2: Painting your nails with one-step nail gel
- Apply a thin layer of gel evenly over all your nails. If you goof (like I did in my video) wipe it off quickly and reapply.
- When finished, you will need to cure your nails under an LED or UV lamp for 2-5 mins. When you remove your fingers, the nails should be dry.
- If you are concerned about skin damage from the UV rays of the lamps, you can use a UV Shield Glove
(around $12 on Amazon).
- Then apply a second thin coat of gel and cure your nails a second time with the lamp. If you prefer darker color on your nails, repeat the process once again.
- Should your nails be a little tacky, simply wipe them down with an alcohol-soaked cotton ball.
Enjoy your gorgeous, shiny, chip-proof nails!
[irp]
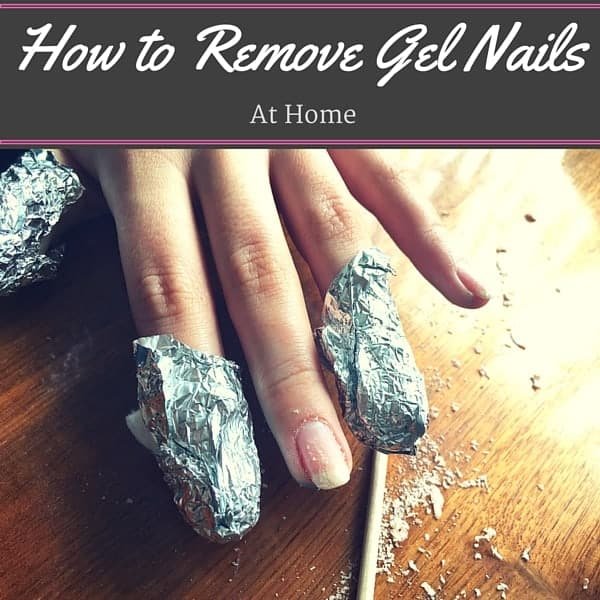
How to Remove Gel Nails at Home
Removing gel nails at home is a little bit tricky. But here is a fairly quick and easy way to do it yourself for very little money.
What You’ll Need to Remove Gel Nails at Home
- Cotton puffs or pads
- 100% Acetone nail polish remover
- Aluminum foil
- Cuticle Stick
- Nail Buffer
- Cuticle oil or hand lotion
- Take a sheet of aluminum foil and rip it into 10 pieces long enough to wrap each of your fingertips. You will also need a cotton ball or pad for each finger.
- Soak your cotton ball in the 100% Acetone nail polish remover and place over your fingernail. Use the aluminum foil to wrap it around the cotton and your fingertip to hold in place.
- Leave on for 15-20 mins. You may need to leave on longer or shorter depending on the effectiveness of the acetone.
- When the time is up, remove the foil and the cotton. You should see the polish lifting off your fingernails. Using the cuticle stick, gently scrape off the remaining nail polish until it is removed.
- If you have any polish left on your nails, you can use a nail buffer to gently remove the remaining polish.
- Apply cuticle or hand lotion to soften and moisturize your nails. You may want to let your natural nails breathe for a week before reapplying the gel.
Brands I Used:
Melody Susie Lux Collection

There are literally hundreds of gel nail polishes on the market. They range in price from around $2.99 a bottle to upwards of $40 for a collection of colors. You can find them practically everywhere these days.
I love the Lux Collection from Melody Susie because it contains 6 lovely dark colors ranging from Magenta, Emerald, Sapphire, Dark Orchid, Ruby Red, and Black Pearl (my favorite). Also this is a one-step gel, meaning you don’t need a base or a top coat. This is not only convenient but saves money too! Music to my ears. Also available in other colors.
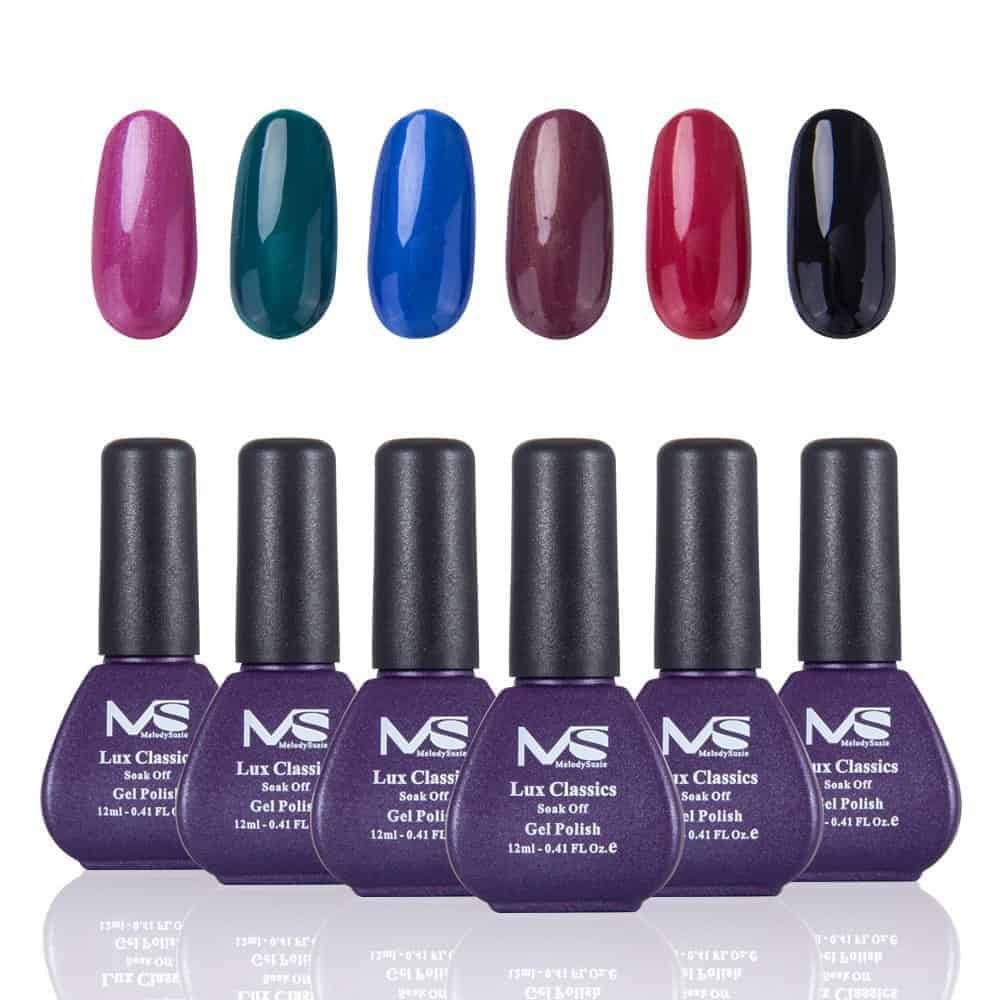
Melody Susie Lux Gel Nail Polish Collection
You can find the Melody Susie Lux Gel Nail Polish Collection
[irp]
Melody Susie UV Nail Drying Lamp
In order to have an effective gel manicure, you are going to need to get yourself a UV Nail Lamp.
A UV nail drying lamp literally bakes the gel nail allowing it to dry almost instantly when it’s finished. Check out my unboxing and how to video below of this UV Nail Drying Lamp from Melody Susie.
You might want to have a friend hold the box while you pull the product out. I actually had to put it on the floor and hold the box with my foot to get it out.
One of the bulbs inside got knocked loose while I was removing the styrofoam, but it is very easy to replace. It just plugs right into the socket.
What you get is the nail lamp, an extra bulb, and an instruction manual.
On my first try, I tried to just turn it on with the by pressing the power button in front, but nothing was happening. I am a dolt.
So after reading the instructions, I realized that there is actually a switch on the back that you must turn on before you can operate the machine.
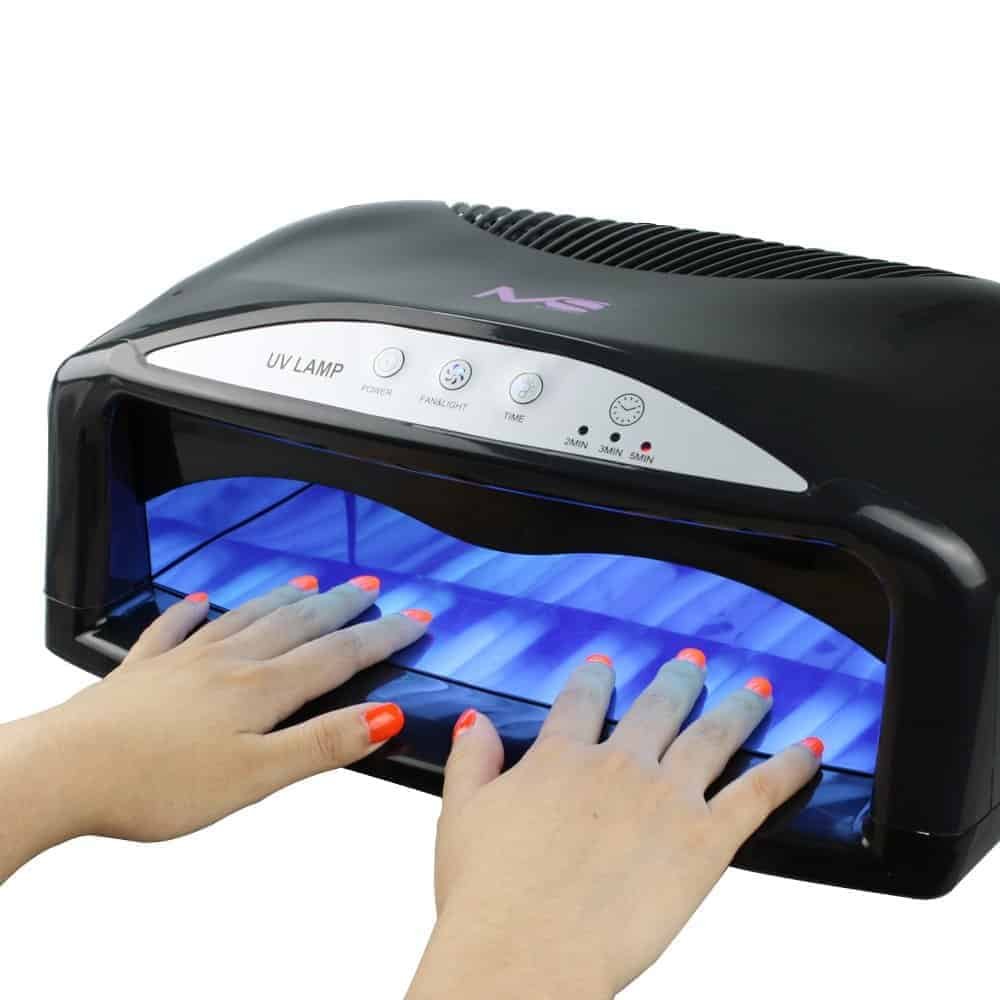
Melodie Susie UV Nail Drying Lamp
After turning on the switch in back, then you push the power button in front. You will hear it beep with every button push. You have the option of using it with the fan alone, the lights alone, or the fan and lights together.
If you want to use the fan, you push the fan&light (sic) button and you will hear the fan turn on. I don’t really know why that button says fan&light because it doesn’t really have anything to do with the light. You can use it independently.
If you want to use the lights, you push the time button. Then you can push the time button again to set the timer for 2 min, 3 min, or 5 min. If you don’t want to use the timer you just push the time button one time.
What I like about this product is that you can use it with any type of nail polish from regular, to UV, to gel. It dries your nails super fast! And it’s big enough to do your hands or your feet at the same time.
It’s perfect for professionals and home nail enthusiasts alike. Also makes a great gift.
You can get the Melody Susie UV Nail Drying Lamp
[irp]
If you can apply nail polish, you can certainly do your own gel nails at home! It can help save you time and money in the long run. Don’t you love that?
Disclosure: These products were received complimentary in exchange for my honest review, but all opinions are my own. I was not compensated for writing this post, but it does contain affiliate links which means I may be compensated a small amount if you click through and purchase. Full disclosure policy here.**


No Comments