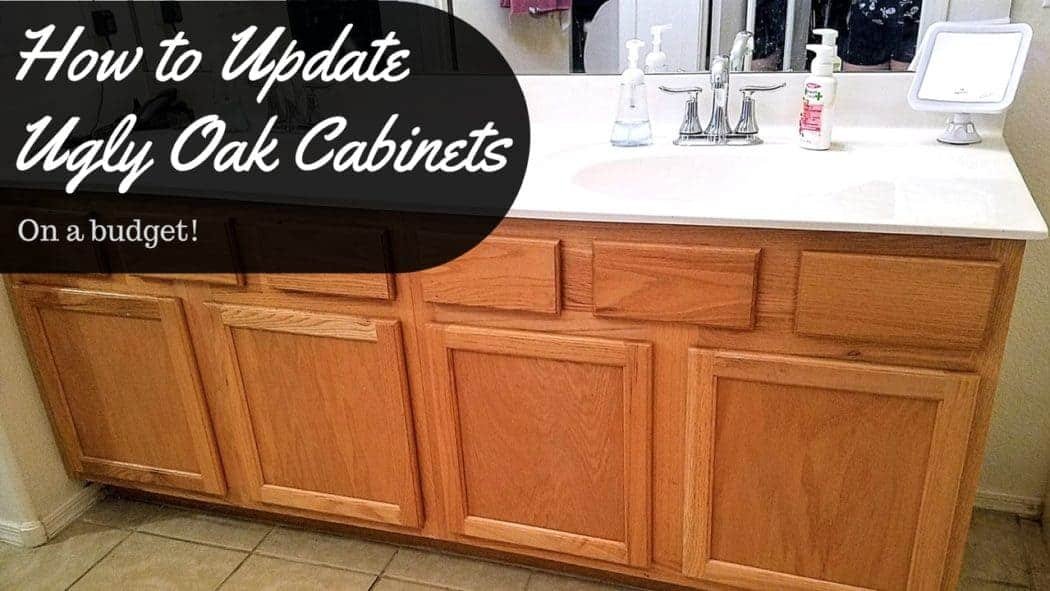
My hubby and I are so happy to be homeowners again! But the house we moved into is super basic. We’re talking beige laminate counters, flat white walls, and ugly oak cabinets. I seriously hate those cabinets! But remodeling costs a lot of money, and after purchasing this home, we didn’t have much to spare. We certainly couldn’t afford to buy all new cabinets, so we decided to re-stain those oak cabinets ourselves. And here is how you can update ugly oak cabinets on a budget too!
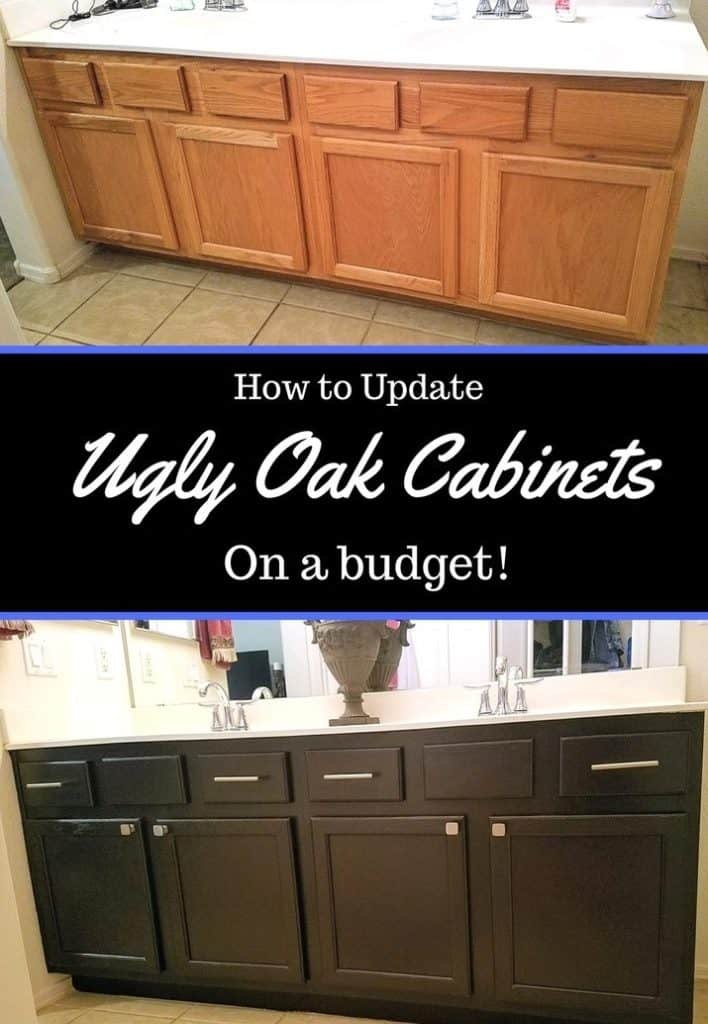 Hate your ugly oak cabinets? Rather than spend money on remodeling, you can re-stain them for super cheap! And it's so easy. Here's how Share on X
It’s time to update these ugly oak cabinets
Look familiar? These ugly oak cabinets typically come standard when a home is built.
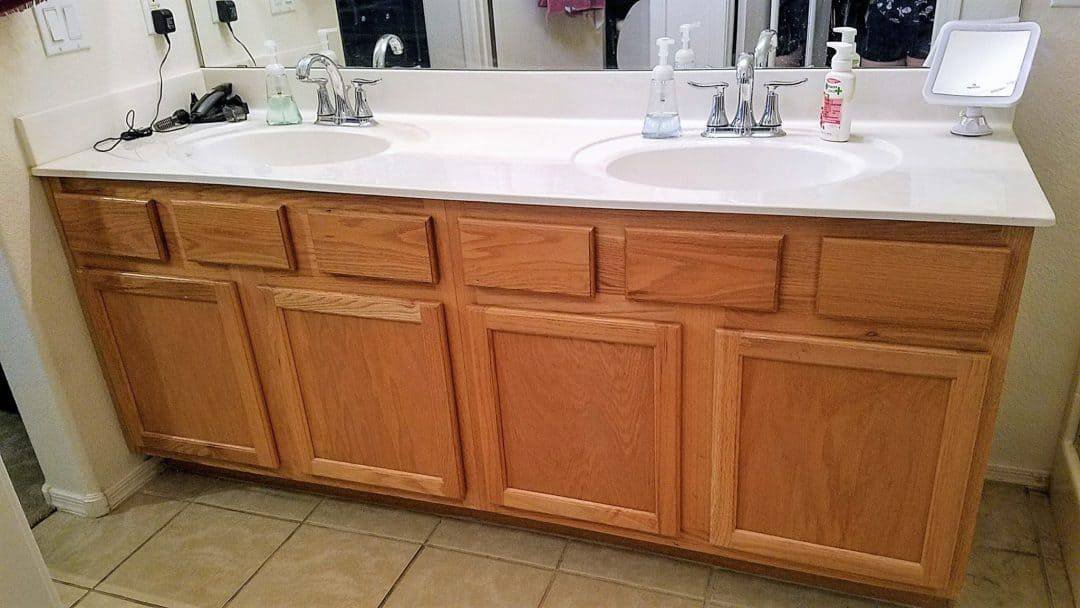
These ugly oak cabinets were throughout the whole house. So dated!
But rather than spend time and energy sanding and painting, we decided to just re-stain them instead. And it was way cheaper than replacing them!
Here is a list of the products we used:
- Jasco Degreaser/Deglosser – $9.05
- General Finishes JQ Gel Stain, 1 quart, Java – $18.98 from a 3rd party seller
- Polyurethane 1 quart – $20
- Latex gloves – $8.95 for a box of 100
- 2″ Angled All-Purpose Paintbrush – $11
- Terry Cloth Rags – $14 for box of 25
- Paint Stirrer – Free from Home Depot
- Acetone for clean up – $8 (You can also use it to remove nail polish)
- Minwax Stain Pen in Walnut for touch-ups – $5
- Masking tape – Around $3-$4 a roll
- Masking paper – $5
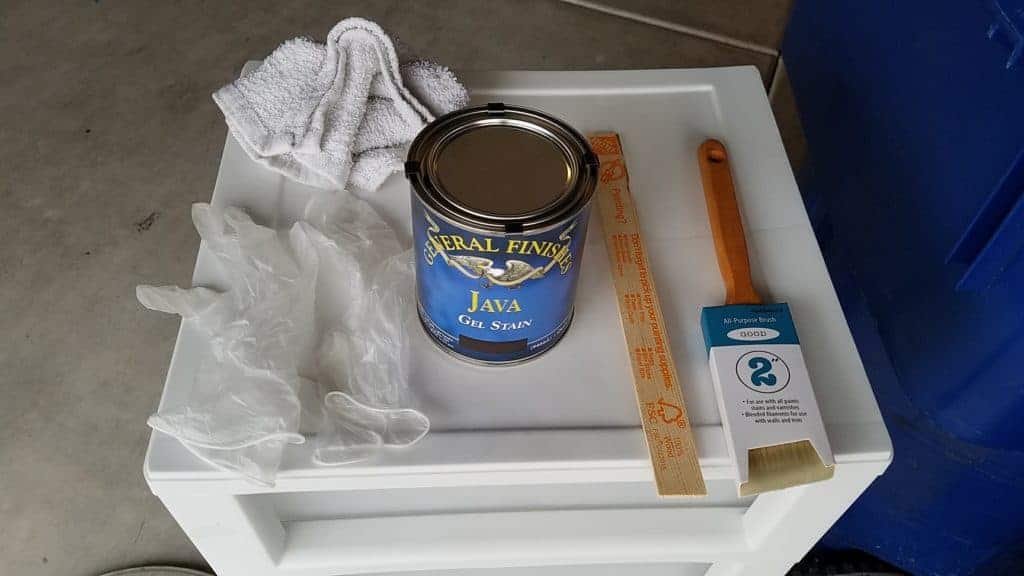
The supplies you will need.
Work smarter, not harder
As most of you know, I’m super lazy and pretty undomesticated. I knew I didn’t want to spend any time sanding these cabinets, so instead, I bought a bottle of this Pre-paint surface degreaser from Jasco.
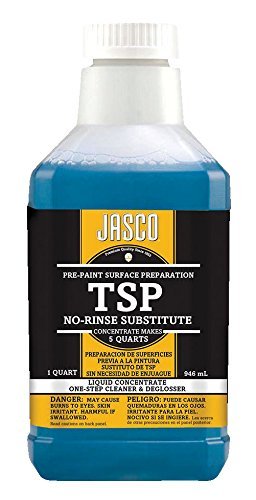
No sanding necessary if you prep your wood first with Jasco degreaser.
You just pour 1 part Jasco into 4 parts water and simply wipe the surface with the solution and let it dry. It de-glosses and de-greases in one step.[irp]
Get to preppin’
Then I used the masking tape to cover the wall and attach the masking paper to the floor to catch any drips.
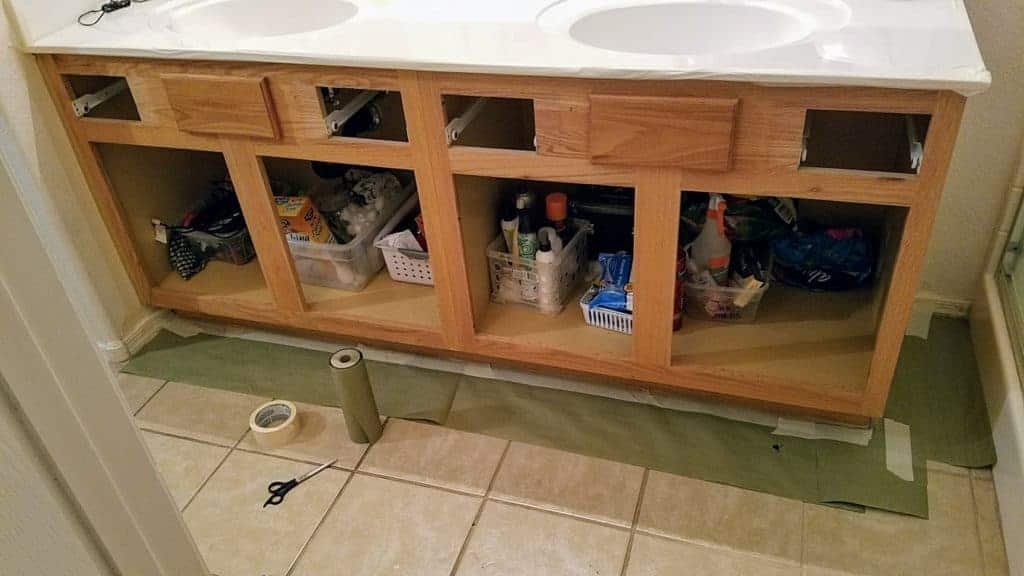
A roll of masking tape and cover paper will protect your walls and floors.
Also, we have white marble counters and I was paranoid about ruining them. Marble is a very porous stone which can stain very easily, so I used an old shower curtain (which was left over from the previous homeowner) and used it to cover the marble sink.
If you don’t have a shower curtain, you can get a tarp or a drop cloth for pretty cheap at your local hardware store.
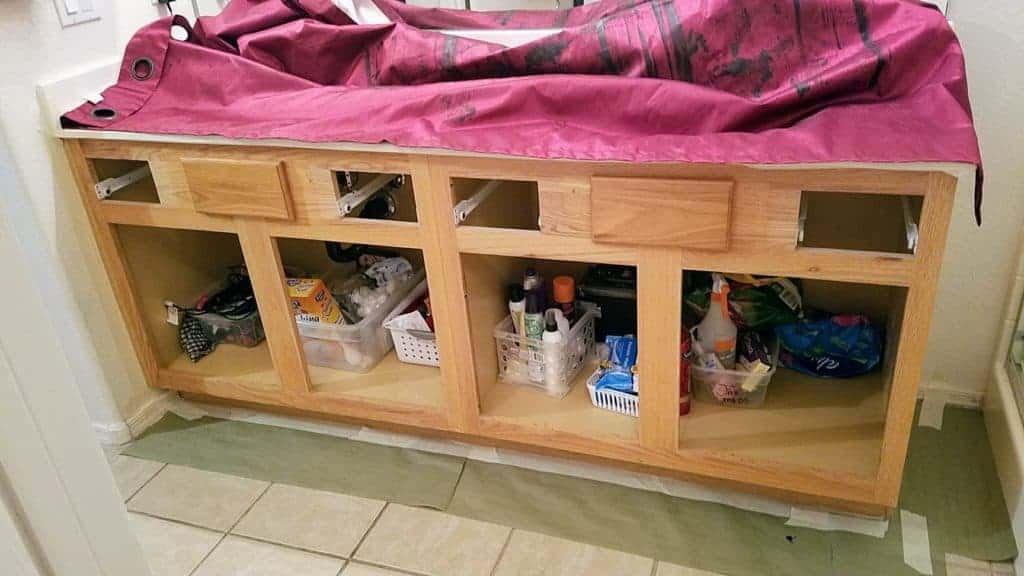
I used an old shower curtain to cover up the white marble counter.
Set them up
Remove the doors and drawers so you can stain those separately.
We did not see the need to stain the inside, so I did not remove anything from under the cabinets. Plus the stain does not adhere well to the laminate inside the cabinets.
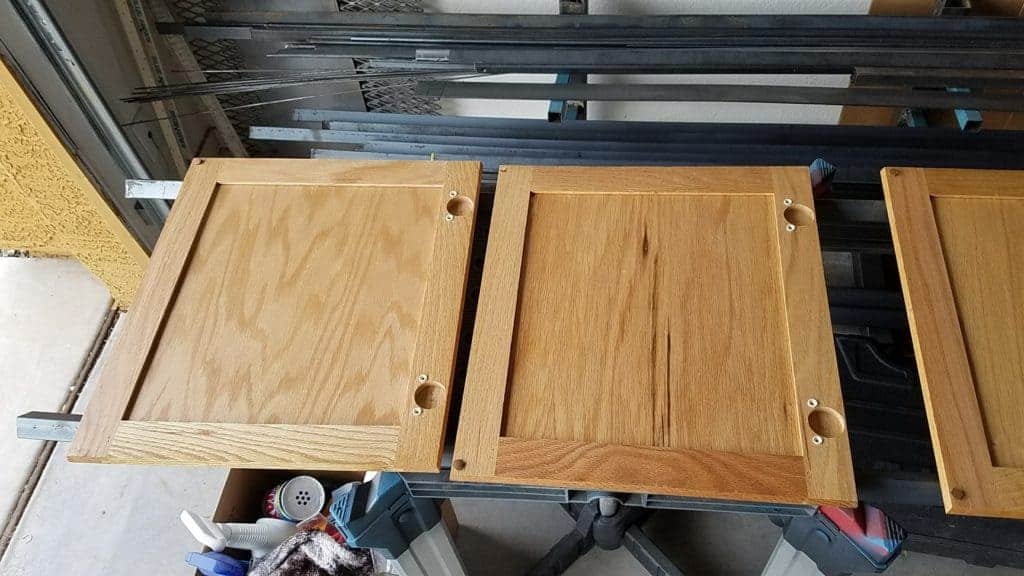
Hubby placed long pieces of steel across 2 tables to hold the cabinet doors in place for staining.
Since you are going to need to stain both sides of the doors, ideally you will want to place them where they can get some air flow. Hubby put up 2 thin pieces of steel that he had in the garage stretched across 2 short tables as a space to stain the doors.
Or you can try these little paint pyramid thingies if you want.
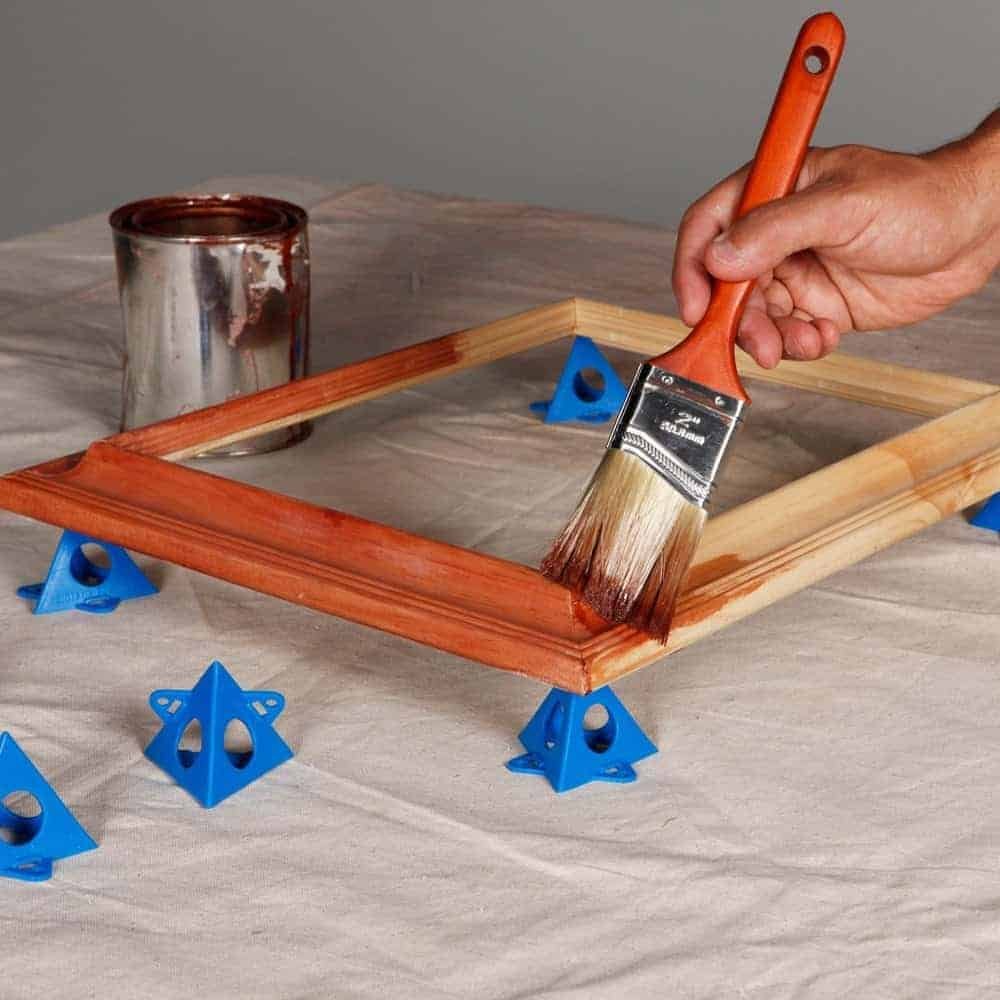
Paint pyramids hold cabinet doors in place to make staining easier.
You will have to wait until the doors are completely dry before staining each side. It took us roughly 12 hours of drying time for each side of the cabinet.[irp]
Time to stain those ugly oak cabinets!
Now it was time to apply the stain. Gel stain is super thick so you don’t even need a primer. Just shake the can, stir the gel, dip your paintbrush in, and get to work.
We went with General Finishes Java Gel Stain in 1 qt. One quart was enough to do our master bathroom and the 2nd small bathroom as well.
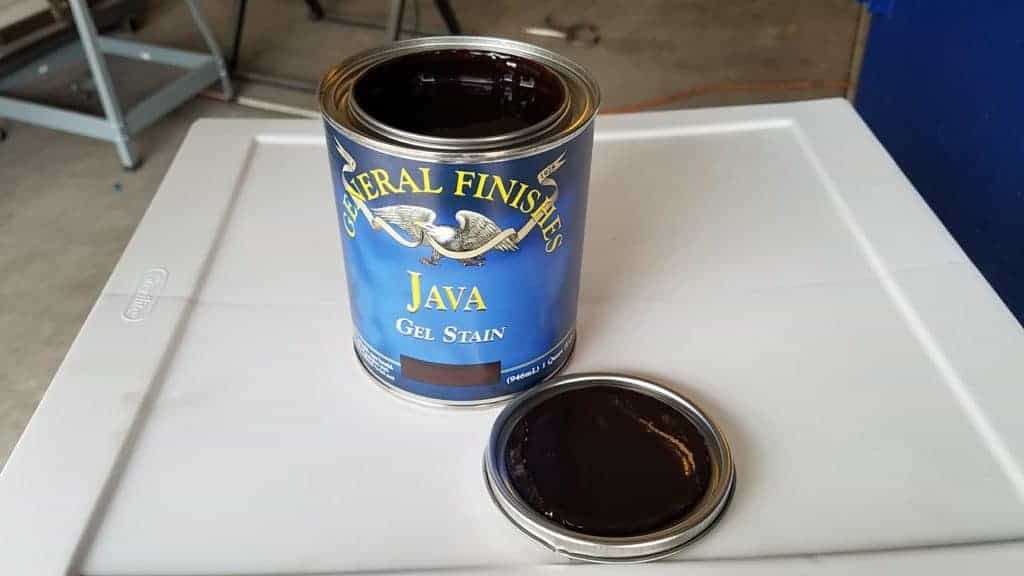
Gel stain works much like paint. You don’t need to prime or wipe off!
Important tips to ensure an even coat of stain:
- Some people prefer to use a rag, shirt, or a sponge to apply the stain. But by using a paintbrush instead, we got a much more even finish with fewer coats.
- Brush in the direction of the grain using thick, heavy, even strokes. Much like when painting anything, always keep a wet edge.
- You will need to work fast as the stain dries very quickly.
- Unlike with traditional stain, you do not need to rub the gel stain off! Just let it dry overnight. That is the trick we used for better coverage with fewer coats!
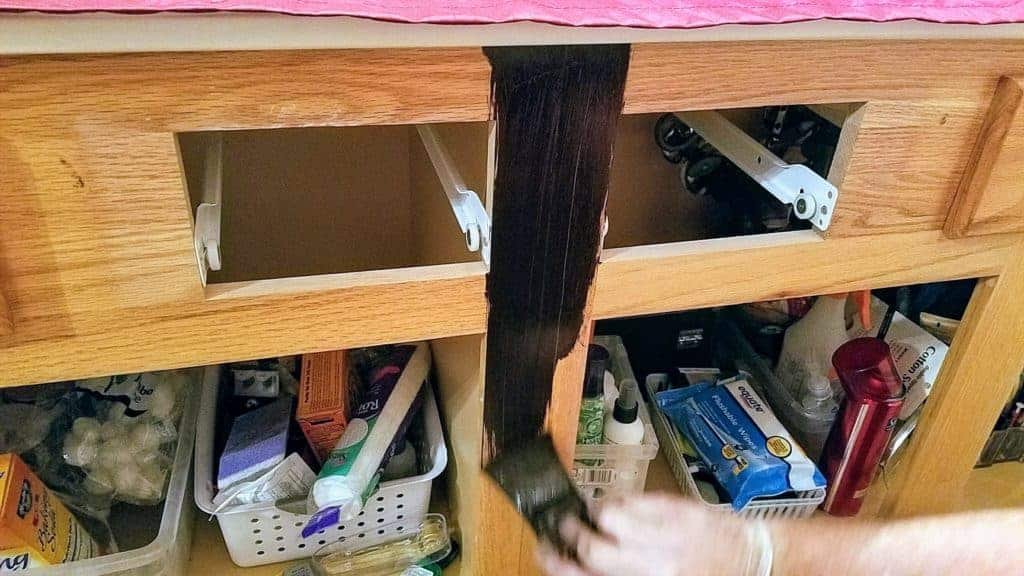
With a paintbrush, apply thick, even strokes in the direction of the grain.
Could ugly oak cabinets look any uglier?
I thought the honey oak was bad, but after one coat of stain, they were even uglier. The cabinets looked awful. I wanted to cry! It was all streaky and ugly and looked horrible.
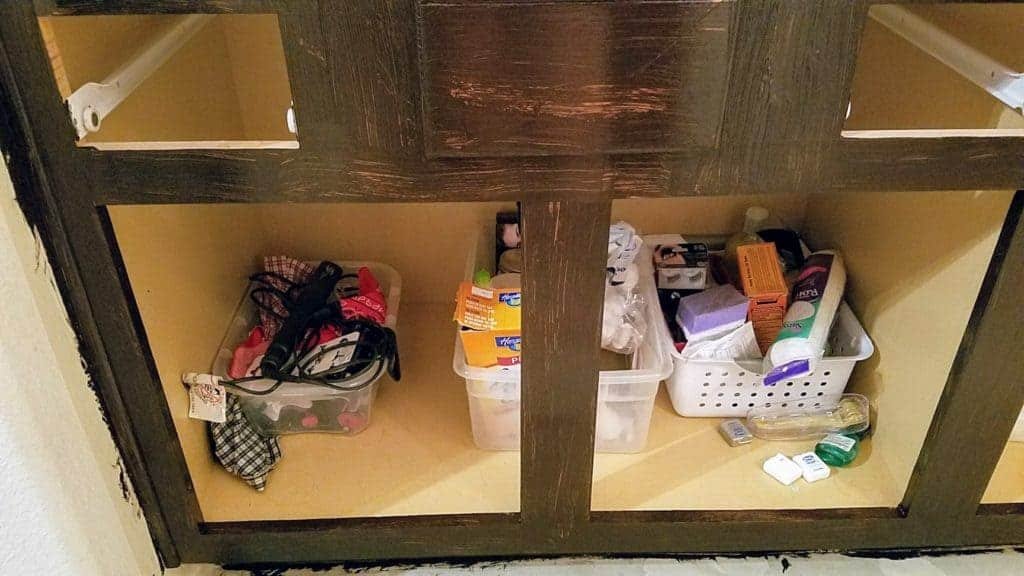
I wanted to cry after the first coat of stain. It was streaky and looked horrible!
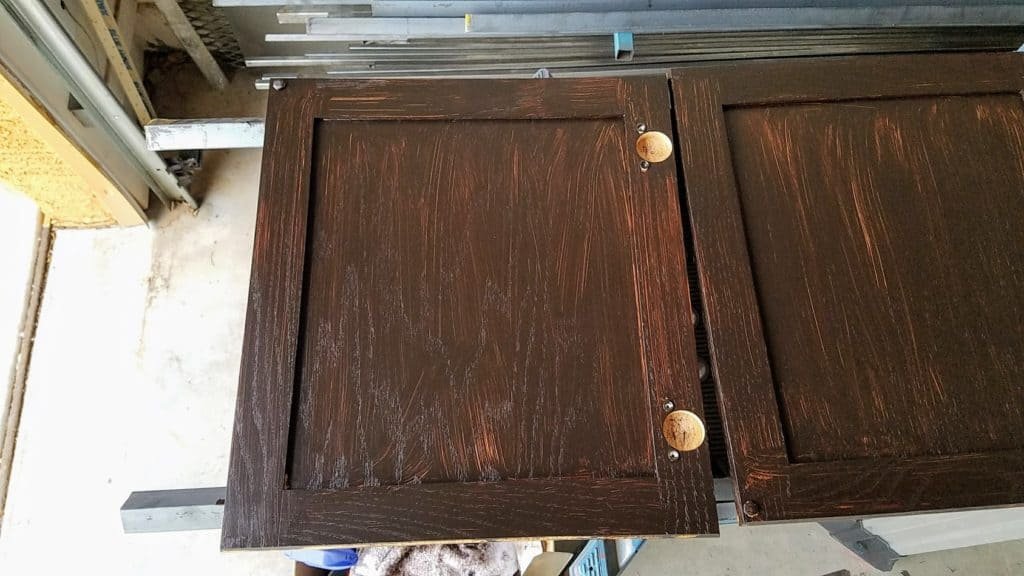
The cabinet doors were especially scary! Help me!
[irp]
Wait for it…
But don’t worry. That is where the next coat comes in to save the day.
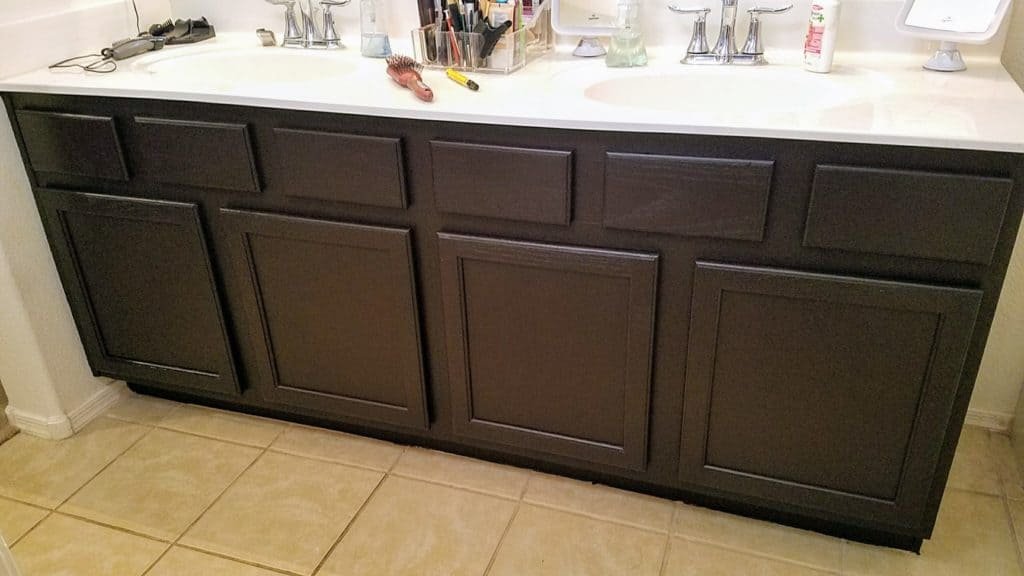
The magic happened after the 2nd coat of stain.
What You Need to Know:
- Again, you will need to apply a thick coat of gel stain with even strokes in the direction of the grain. As long as you keep it super wet, streaking will be at a minimum.
- Try to cover any bare spots in one go. If you end up going over it again, the gel could come off as you paint it. If this happens, you may need to do a 3rd coat.
Then we let it dry overnight. Okay, actually it was more like a week since hubby and I both work weekdays and did not have any time during to finish it until the following weekend.
Did you goof?
If you get any stain on the inside of the cabinets or on a hard surface floor, use a little bit of acetone on a rag to remove it. Try to wipe up any spills quickly.
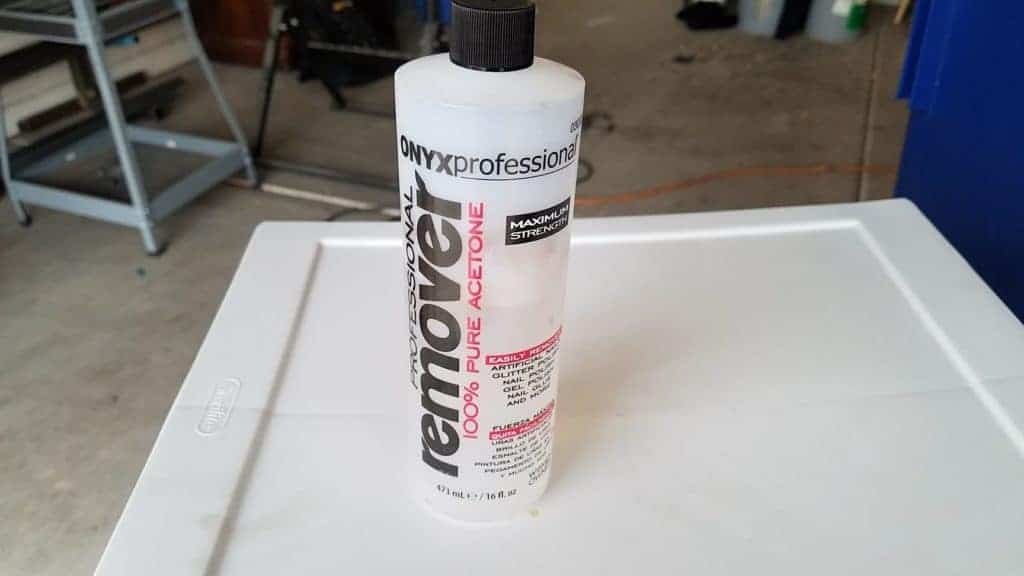
Clean up any goofs with acetone or nail polish remover.
Let me tell ya, I went through a lot of rags. Just try not to get any on a painted wall. The acetone will probably not help you there and you may need to repaint. Guilty!
But what if you really screw up and get stain on your carpet?
I did, and I thought I was going to have a heart attack. But here is a quick and easy tutorial on how to get gel stain out of carpet.
Did you miss a spot?
If you miss any spots, you can just use a stain marker to touch up any small areas such as corners or grooves.
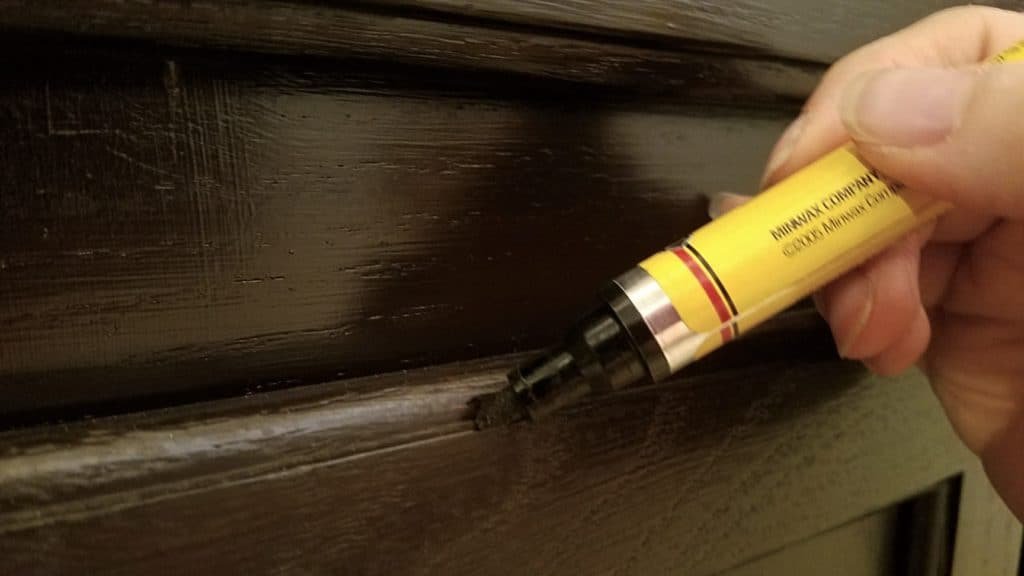
You can use a stain marker to touch up any small bare spots.
The finishing touch
Finally, we applied the Polyurethane with a satin finish. The poly is really important because, without it, the stain could rub off and fade.
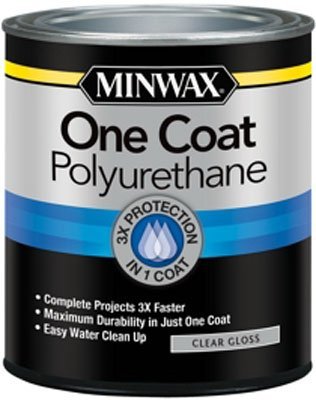
We used this Minwax One Coat Polyurethane in Satin.
Add some sparkle
For the grand finale, we added contemporary satin nickel knobs for the doors and pulls for the drawers.
We found the biggest selection on Amazon and ended up with these for a great deal!
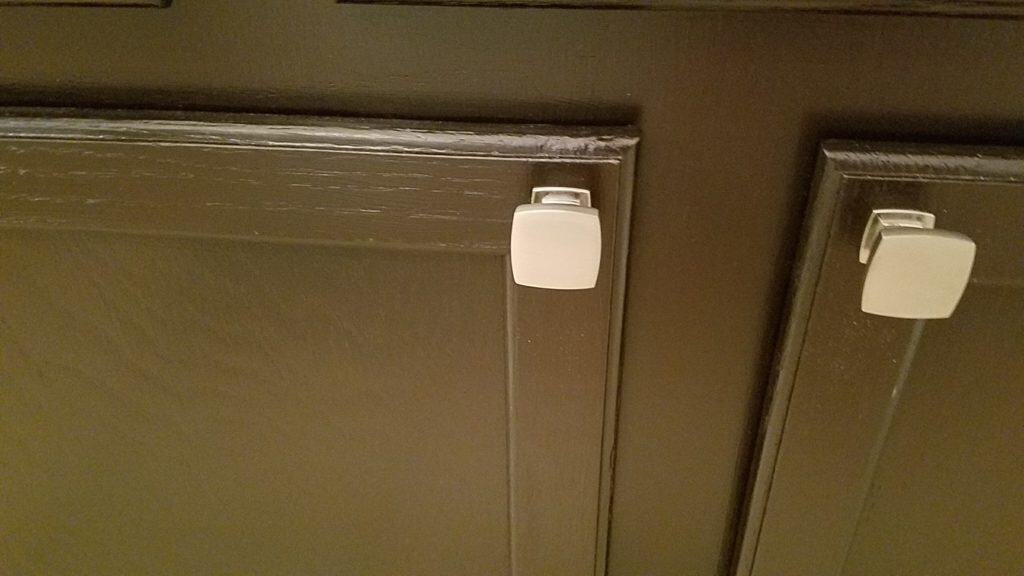
We chose these square knobs for the doors and 2.5″ pulls for the drawers.
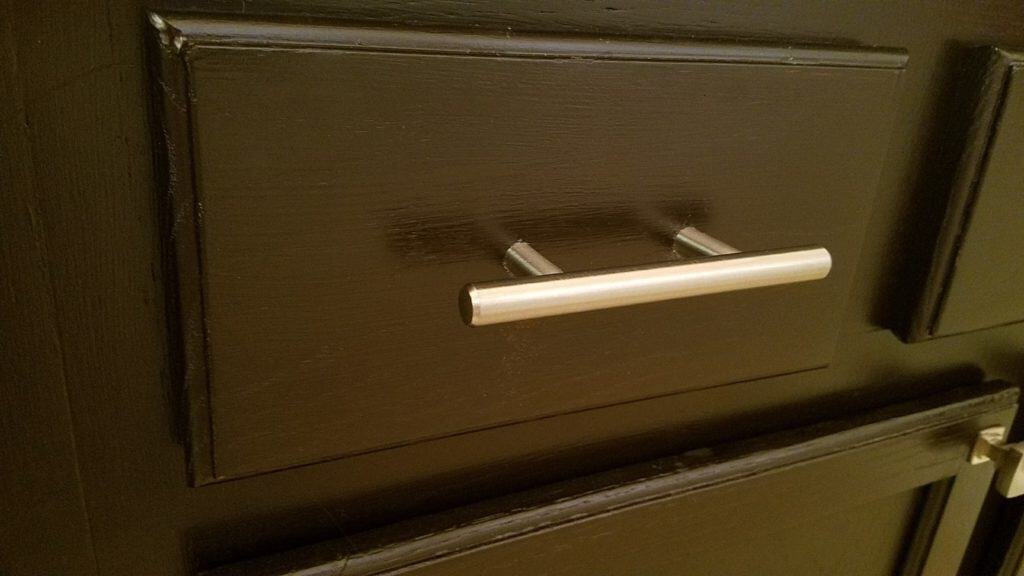
We liked the look of these pulls for the drawers.
We bought the cabinet hardware in bulk since used them for the kitchen and 2nd bathroom as well. Much cheaper than at our local hardware store!
Including the hardware, we spent less than $200 on the entire project and only had to buy one more can of stain to complete the 2nd bathroom and kitchen!
Here are our “new” bathroom cabinets!
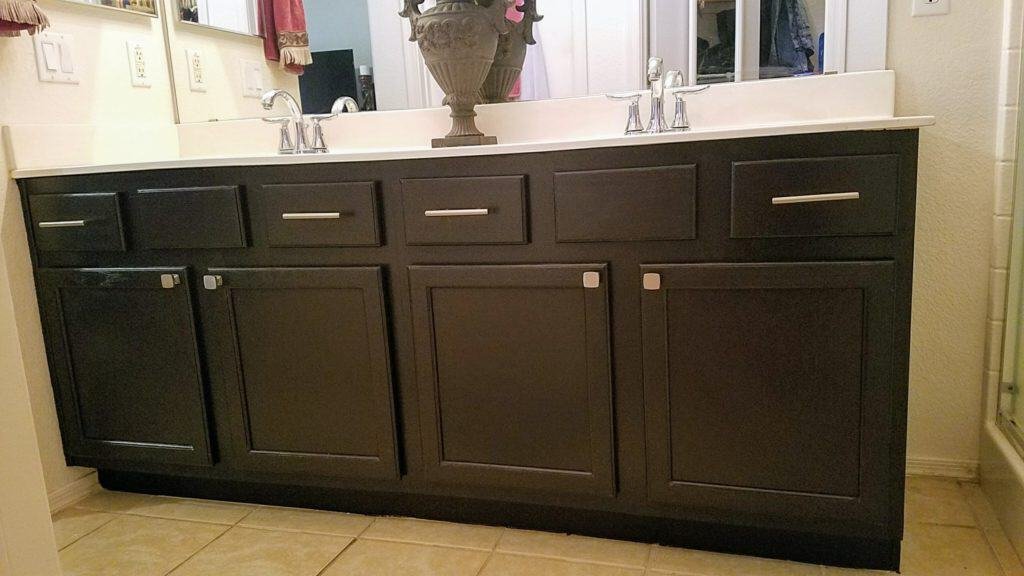
Our updated bathroom cabinets. For less than $200 we had enough materials left over to do the 2nd bathroom and the kitchen too!
We are so pleased with the finished result. Of course, it’s not the same as completely new cabinets, but this is a great, inexpensive way to update ugly oak cabinets on a budget.
Disclosure: All products in this post were paid for with my own money. I was not compensated for writing this post, but it does contain affiliate links which means I may be compensated a small amount if you click-through and purchase. Full disclosure policy here.**




Hi! Thanks for your post. I have some questions if you don’t mind. I have those old 80s cheap kitchen cabinets as well. They look identical to yours. The laminate paper looking stuff is peeling off on the exposed sides of the two cabinets on either side of my sink. Under that is that particle board stuff. Are yours like that? Because im in my 50s, have some medical issues & I desperately want to paint them but won’t have money to fix a screw up so I’m worried. People say not to paint those, the paint will rub off, scratch, etc. How are they holding up to use?
I’m intrigued its a gel stain and then you poly’d them. That makes me think they would hold up well? I want to paint mine s slate gray…
Any advice would be much appreciated.
Thank you!
Melissa
ig*****@***oo.com
Hi Melissa. I think my cabinets are solid wood. I haven’t come across any peeling laminate. But I’m afraid you can’t just paint over that because it will be noticeable under the paint. And I think your friends are correct that painting over laminate will likely peel off. I’m not a professional, but I would imagine that you would probably need to do a lot of prep (sanding and priming) before you paint.
As for the gel stain, it is still holding up pretty well. It’s lightly rubbing off in a few overused areas but you can only see it when up close.
Maybe you could try a test on the back of a cabinet door or inside a drawer before committing to doing a whole project. That is my suggestion.
This is awesome! I’ve been wanting to refinish my cabinets for years, but have always heard that it’s a huge project that is easy to mess up and takes weeks to get done. This is so motivating to finally try doing it since I don’t have the budget to get a professional company to come to do it for me. Do you feel like the stain has held up with the moisture from your shower? That’s another thing that has been stopping me from my cabinet refinishing project. I’ve heard you have to be super careful with your bathroom cabinets. Thanks for sharing!
They’re still holding up. There’s a few minor scratches here and there but nothing a little touch up pen can’t fix. Thanks for reading and commenting 💖
Your article answered every question I had. Thank you so much for taking the time to share it online 😊